Thursday, October 31, 2013

1 Nov - Continuing my CD cover design

Today I added in some extra details into my CD cover, such as an extra border in the middle for CD case. This is the background i used for that:
http://wallpoper.com/images/00/45/10/12/black-background-metal_00451012.jpg

Here is a preview of my CD cover. So far I'm doing pretty well! I decided to keep the same background for both sides of my CD cover, because then I would be able to give the same effect I want the user/audience to feel when they look at my CD cover - which is cool. I also learnt today how to rotate and edit text in Photoshop from these Yahoo Answer Links at the bottom. They really helped me quite a bit!
http://answers.yahoo.com/question/index?qid=20101008122718AAIYlXO
http://answers.yahoo.com/question/index?qid=20070615113744AAQmaAV

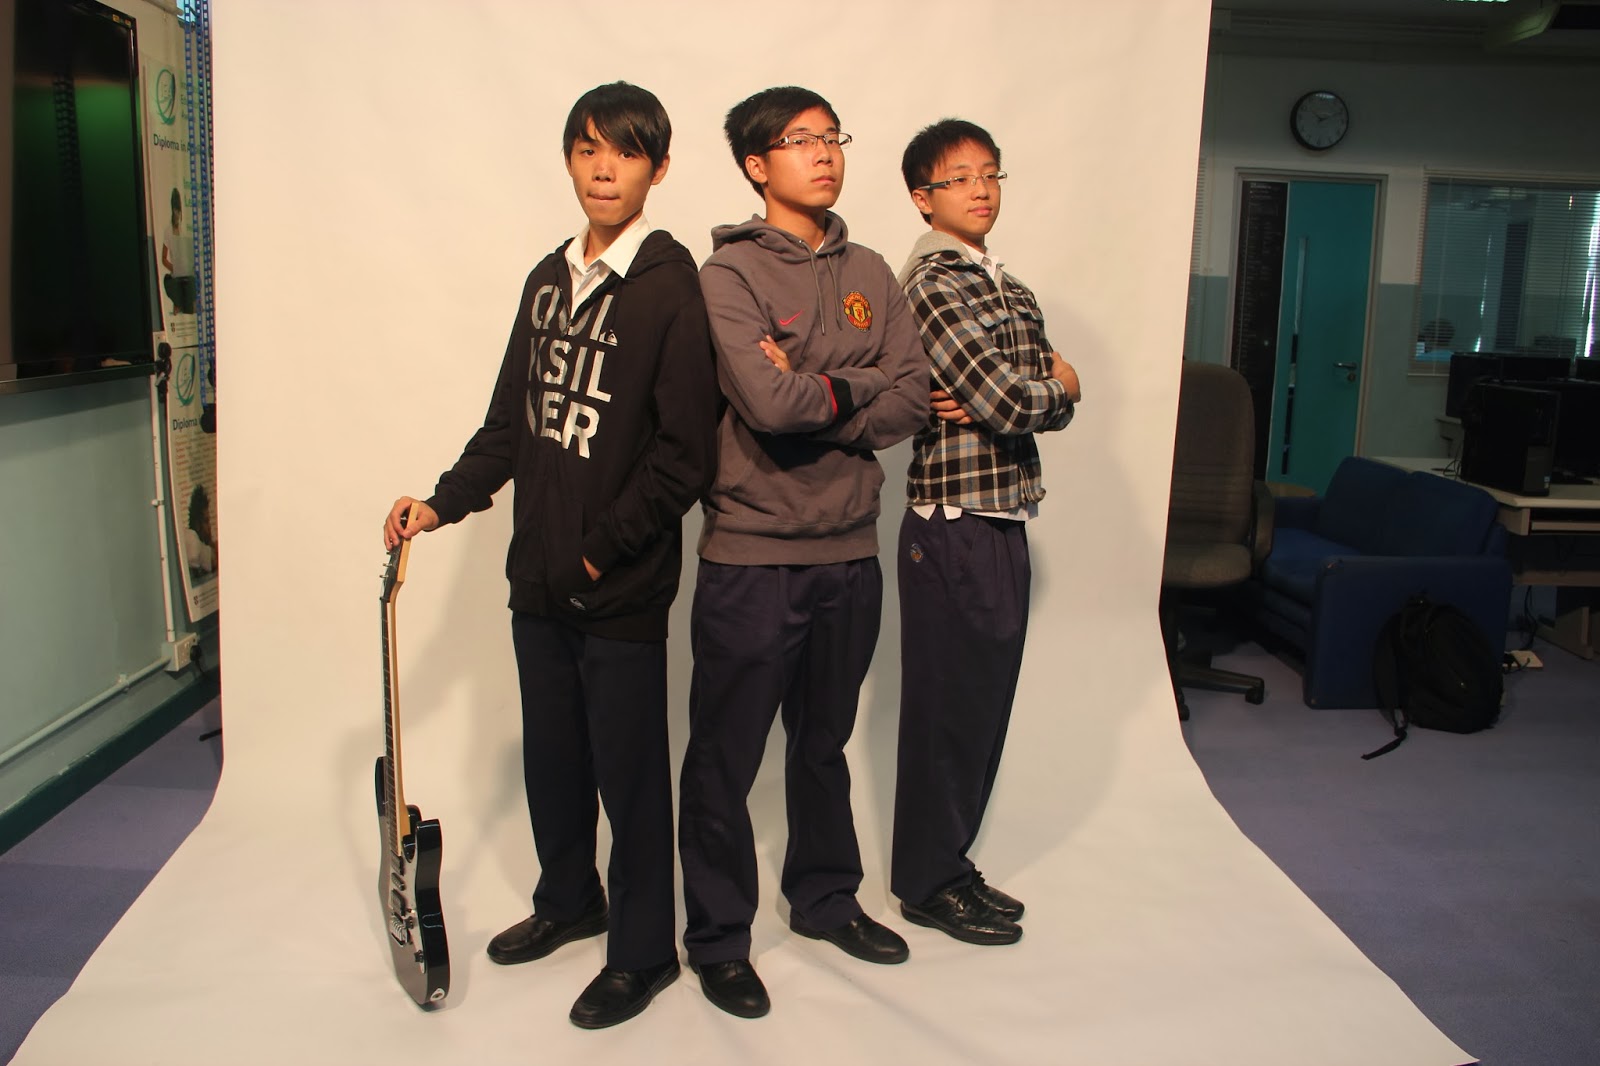
The reason why I did not add in my band photo yet, is because I have trouble extracting me and my band members without anything else. Here is what I get, but for some reason photoshop forces me to add in some color in the background as well, instead of no fill. I will try to find a workaround for this, but for now this is what I am stuck with:
Maybe next lesson, I will be able to fix this!

Oct 31 - CD cover construction

Today, we started to work on our CD Covers. I have been experimenting with different types of backgrounds, which all have a common theme i already chose, which is a fire burning on a black background. I'm currently working on finding some cool backgrounds for it, and here are some pictures that I have experimented with:

Tuesday, October 29, 2013

29 Oct - Photoshop Extraction Techniques

Here are two Photoshop extraction techniques that I have found from this website http://wegraphics.net/blog/tutorials/photoshop/photoshop-for-beginners-techniques-to-extract-anything-from-its-background/:

The first one is great for extracting irregularly shaped objects. You'll need the paths mode with the pen tool, and all you need to do is trace around the object. Afterwards, press ctrl + enter to activate the selection tool. This will select your object. In order to delete the stuff you don't need, inverse the selection by pressing ctrl + shift + l, then press delete to delete any unwanted pixels. Here are some pictures to show you how it can be done:
pen tool in path mode first of all select the pen tool


trace the outline of the appleThen you should start to trace around the object.

apple extracted If you did this correctly, you should get the object you wanted and nothing else left!


Here is the second method I found, which should be used to extract rather regular objects (preferably circular), because it's much simpler. First of all, select the elliptical marquee tool, and select your object. Then, hold down alt and shift (which helps with the constant proportion of the selection, and makes sure the first click is with the center of your selection) and then select your object. Afterwards inverse the selection (ctrl + shift + l) and press delete. Then, you have your object extracted!

The photos used in the blog post are from http://wegraphics.net/blog/tutorials/photoshop/photoshop-for-beginners-techniques-to-extract-anything-from-its-background/ and do not belong to me.

Monday, October 28, 2013

29 Oct - CD Template + Extraction of Band Photos

Today we have started to work on our CD templates and I also extracted the band photo from the background. First of all, for my CD template, I wanted it to be cool. In order to do that, I am going to put a  background on my band photo, that consists of fire on black. I believe that it would be good with my band photo on that. I also have already set my fonts and sizes on my CD template, so I believe that would be good
This is my extracted band photo:

And this is my CD template for now, I will work on it a little more next lesson:
For HW, we are going to find 2 extra methods of extraction in photoshop. I will try to find some on youtube and post it here.

25 Oct - Starting our Band Photos

Today, we have started on taking our band photos. My band members are Victor and Alex. We took two shots for our band CD cover - 1 which was of the whole body, and one which was a head-only shot. I prefer the one with the whole body, so I think that I'll be using that instead of the other one. This is the original photo for the one that I prefer: